DISCLAIMER: Hosting your own minecraft server without a vpn or proxy WILL expose your IP address to anyone who joins the server. I recommend getting a Vultr VPS to host your proxy server. I also recommend Google Domains for obtaining a domain. Free domains do technically exist but they are VERY sketchy at best and very hard to get. Here is my affiliate link with Vultr if you want to check them out with vps hosting starting at just $2.50 a month ($3.50 a month plan minimum for ipv4 support which is needed by minecraft). In addition, if you need a more budget option, Ionos has both cheap domains ON PLATFORM which is a lot easier than having to change name servers and they also have vps hosting coming in at $2 a month for 1vcpu and 1gig of ram, important to note that they only have 10 gb of ssd storage.
Setup for Windows
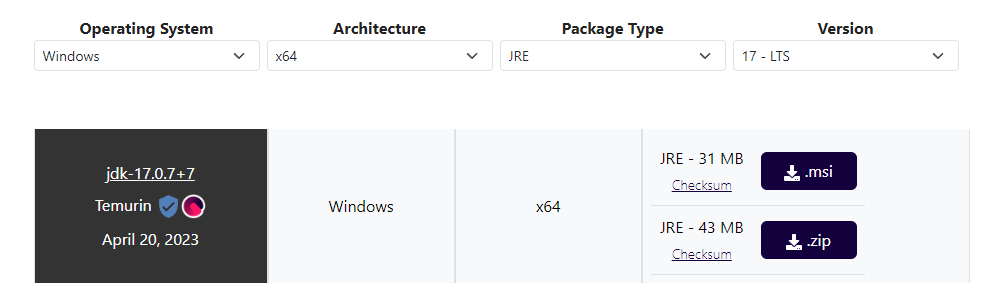
First, if you do not have Java installed or do not know if you have it installed or not, Click the button below.
The image below shows what you want to download on a decently modern computer. Download the .msi file with the button shown in the photo (then go through the standard installation)
After Java is installed, head over to the Paper download page:
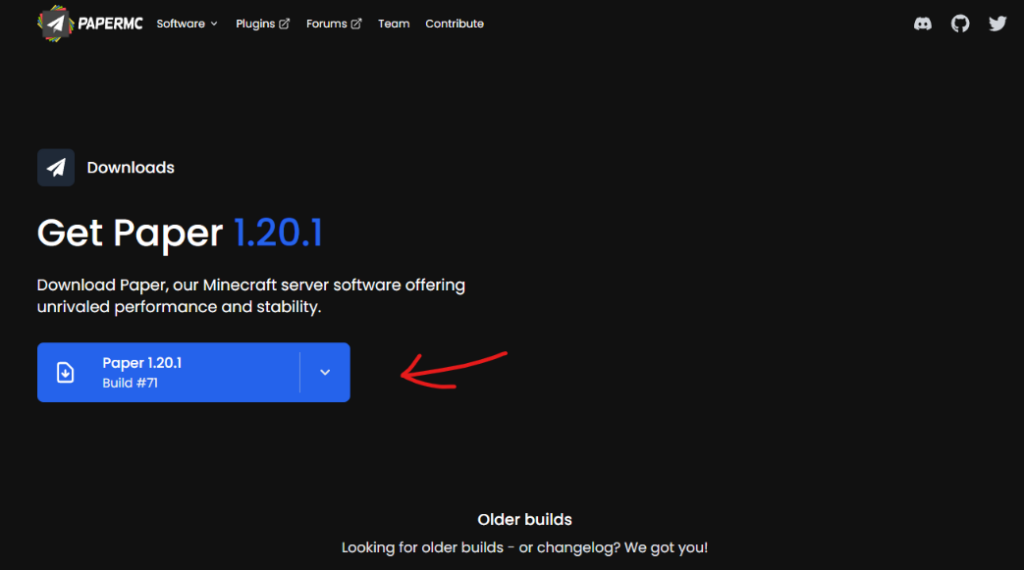
Once you are on the page, click the blue download button shown in the photo above. This will download the latest build of Paper. Sometimes you may get an error that it is a “harmful file” but this is not true. .jar files sometimes are used for malware and your computer will flag it in the browser. Once you are done with this, create a folder for your server on your computer. For this tutorial I will be using the name “serverexample”
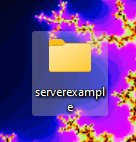
Then, move the .jar file to the folder.

We now are going to create a .txt file named “start.txt”

Right click the paper file and click rename.
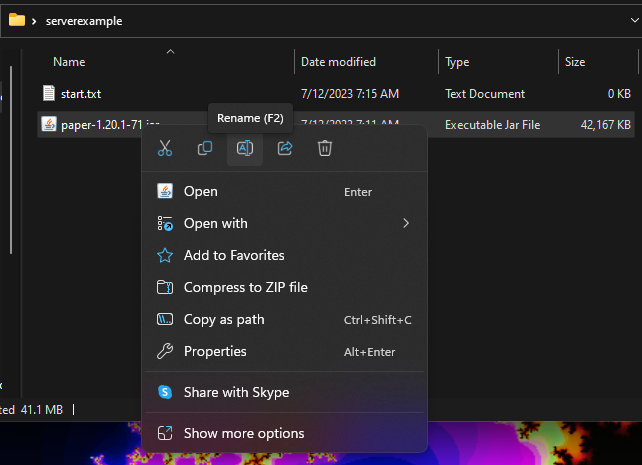
It will then look like this and you want to press ctrl+a then ctrl+c.

Now, open the start.txt file and type this: (optionally you can add nogui to the end to remove the graphical user interface)
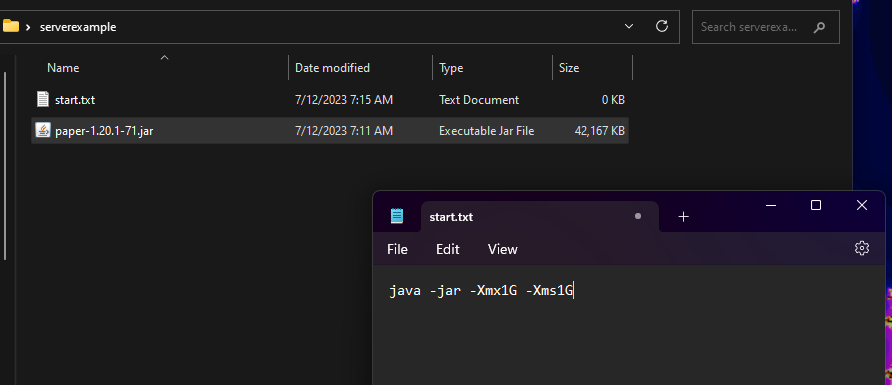
Then put a space, and press ctrl+v to paste the paper file name. Press ctrl+s and exit notepad. Then, as shown below, rename the start.txt file to start.bat.

If it shows a warning about changing file extensions, click yes.

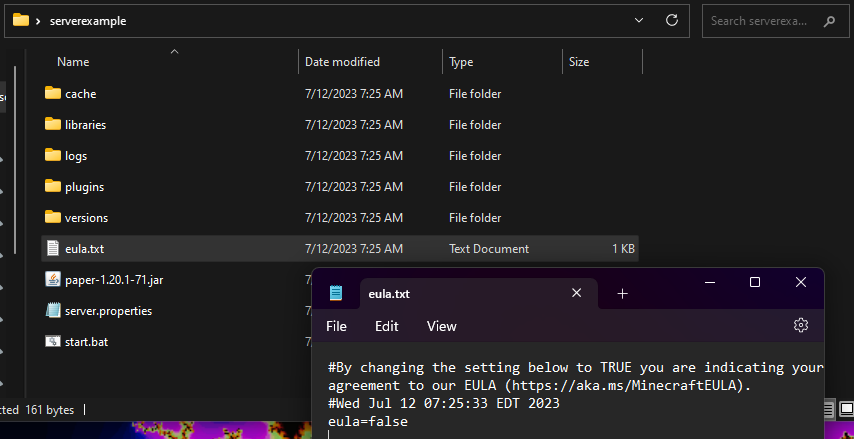
Change the EULA to true if you agree with Minecraft’s end user licence agreement like shown below.

Double click the start.bat file again and your server will start. Close the server by running “stop” in the terminal window. You then want to click the windows start menu and type “cmd” and press enter. After that, type in “ipconfig” and press enter. Then, search for the line that says “IPv4 Address…” and look for the numbers it says. For me, this is 10.35.55.181, but it will not be this for you.

If you just want people in your house to be able to access your minecraft server, just have them type those numbers with the periods into the minecraft server add menu. If you want to access this server outside of your house, follow the next steps.
Click the button below and copy the numbers and periods of the ip address. This is your PUBLIC ip address and this IS sensitive information. You then want to log into your router, just use the ip you grabbed before this one and replace the last numbers on the end with “1” in my case it would be 10.35.55.1
Depending on your router brand you will need different tutorials. But what you want to do is find a guide to port forward. You want to forward the port 25565 to the previous ip (for me 10.35.55.181) Then, you can give that to your friends to join. Be careful with sharing your public ip though! You also can now add plugins!
![]()